4. Lesson: Actions
Now that you’ve seen a default action in the previous lesson, it’s time to define your own actions. An action is something that happens when you click on a feature. It can add a lot of extra functionality to your map, allowing you to retrieve additional information about an object, for example. Assigning actions can add a whole new dimension to your map!
The goal for this lesson: To learn how to add custom actions.
4.1.  Follow Along: Open an Image
Use the school_property layer you created previously. The course materials include photos of each of the three properties you digitized. What we’re going to do next is to associate each property with its image. Then we’ll create an action that will open the image for a property when clicking on the property.
4.2. Follow Along: Add a Field for Images
The school_property layer has no way to associate an image with a property yet. First we’ll create a field for this purpose.
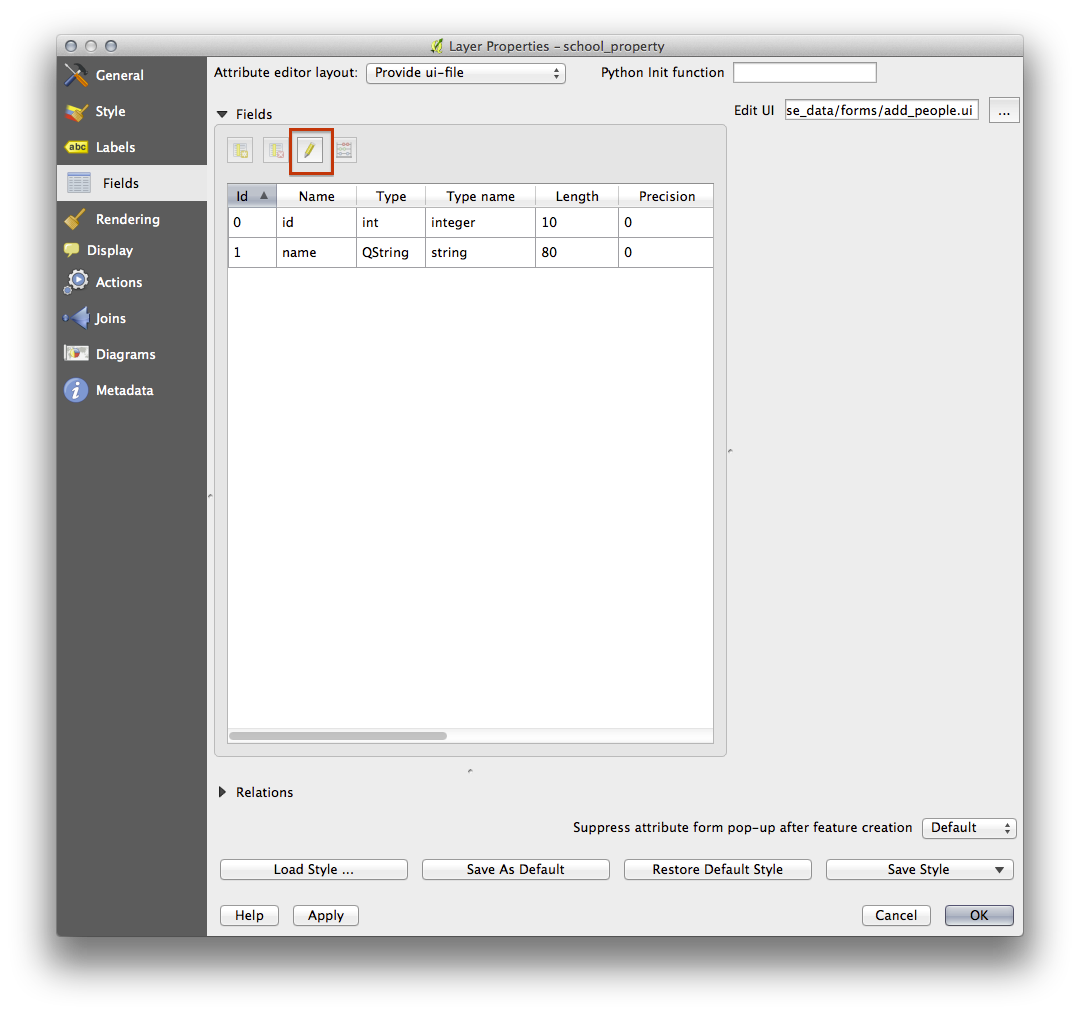
- Open the Layer Properties dialog.
- Click on the Fields tab.
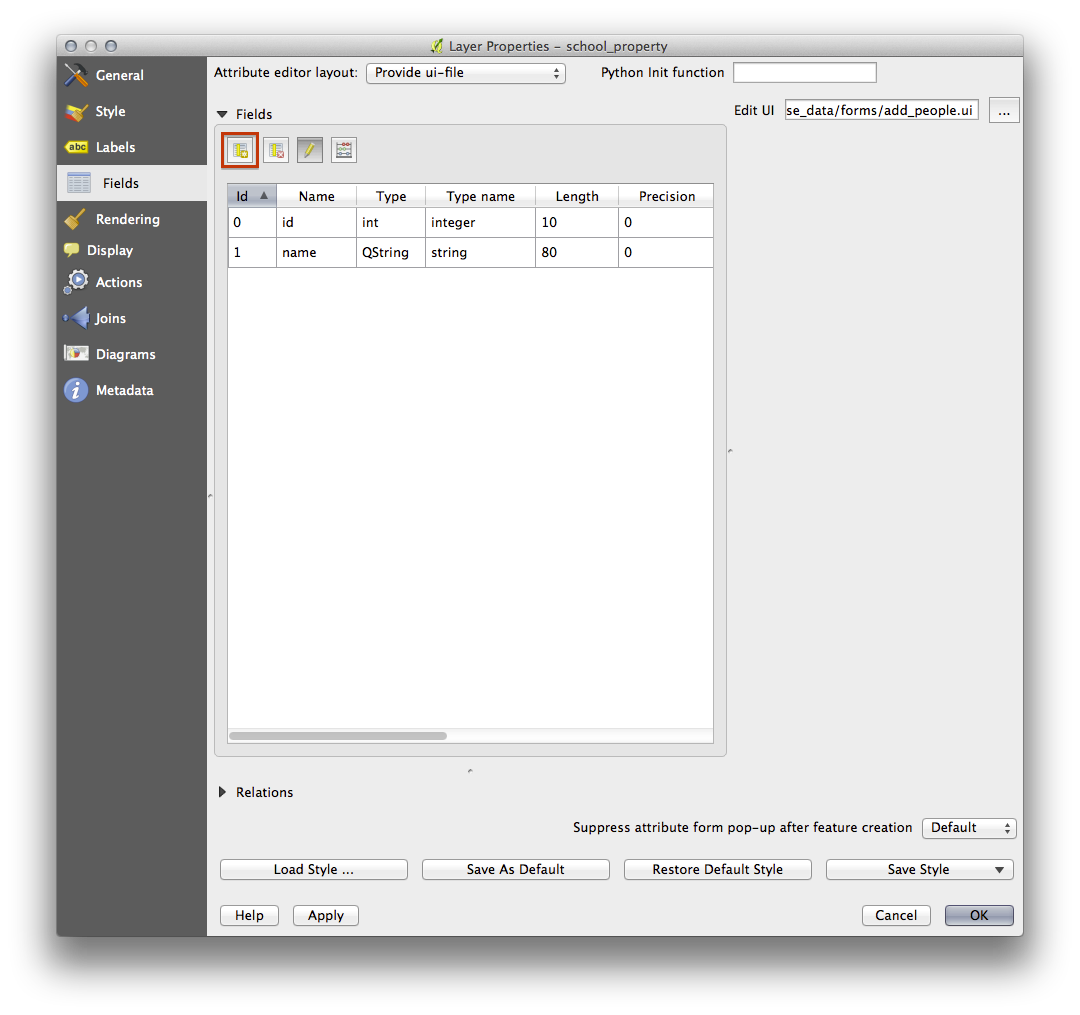
- Toggle editing mode:
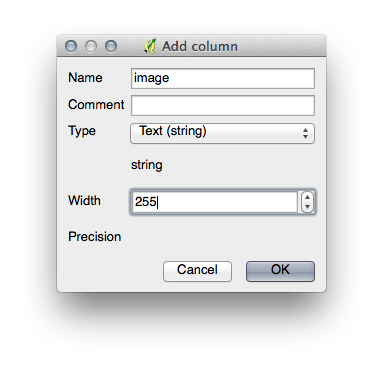
- Add a new column:
- Enter the values below:
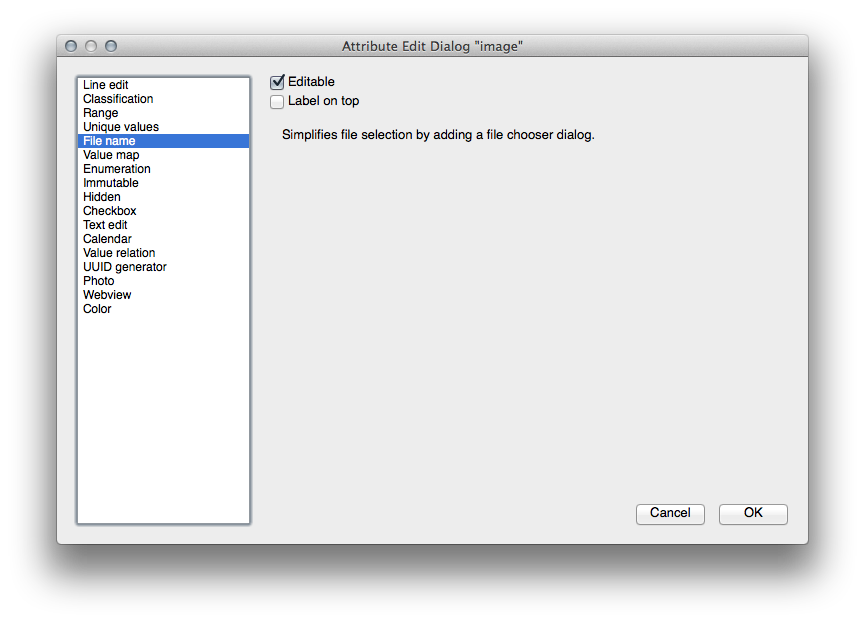
- After the field has been created, click on the Line edit button next to the new field.
- Set it up for a File name:
- Click OK on the Layer Properties dialog.
- Use the Identify tool to click on one of the three features in the school_property layer.
Since you’re still in edit mode, the dialog should be active and look like this:
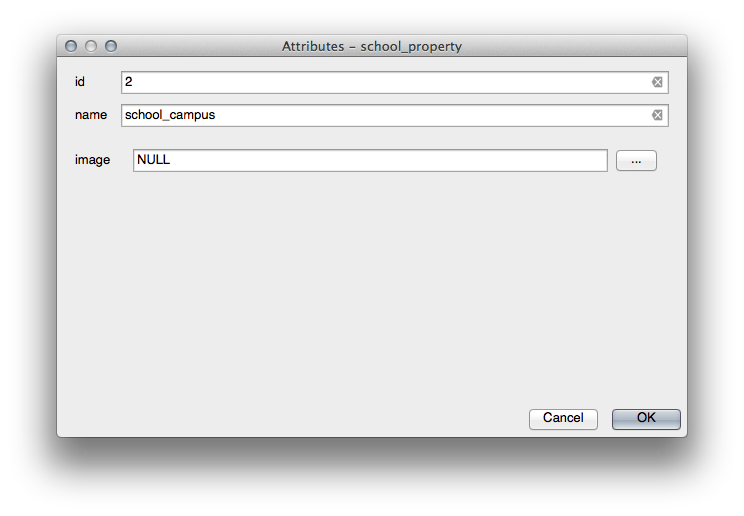
- Click on the browse button (the ... next to the image field).
- Select the path for your image. The images are in
exercise_data/school_property_photos/and are named the same as the features they should be associated with. - Click OK.
- Associate all of the images with the correct features using this method.
- Save your edits and exit edit mode.
4.3. Follow Along: Creating an Action
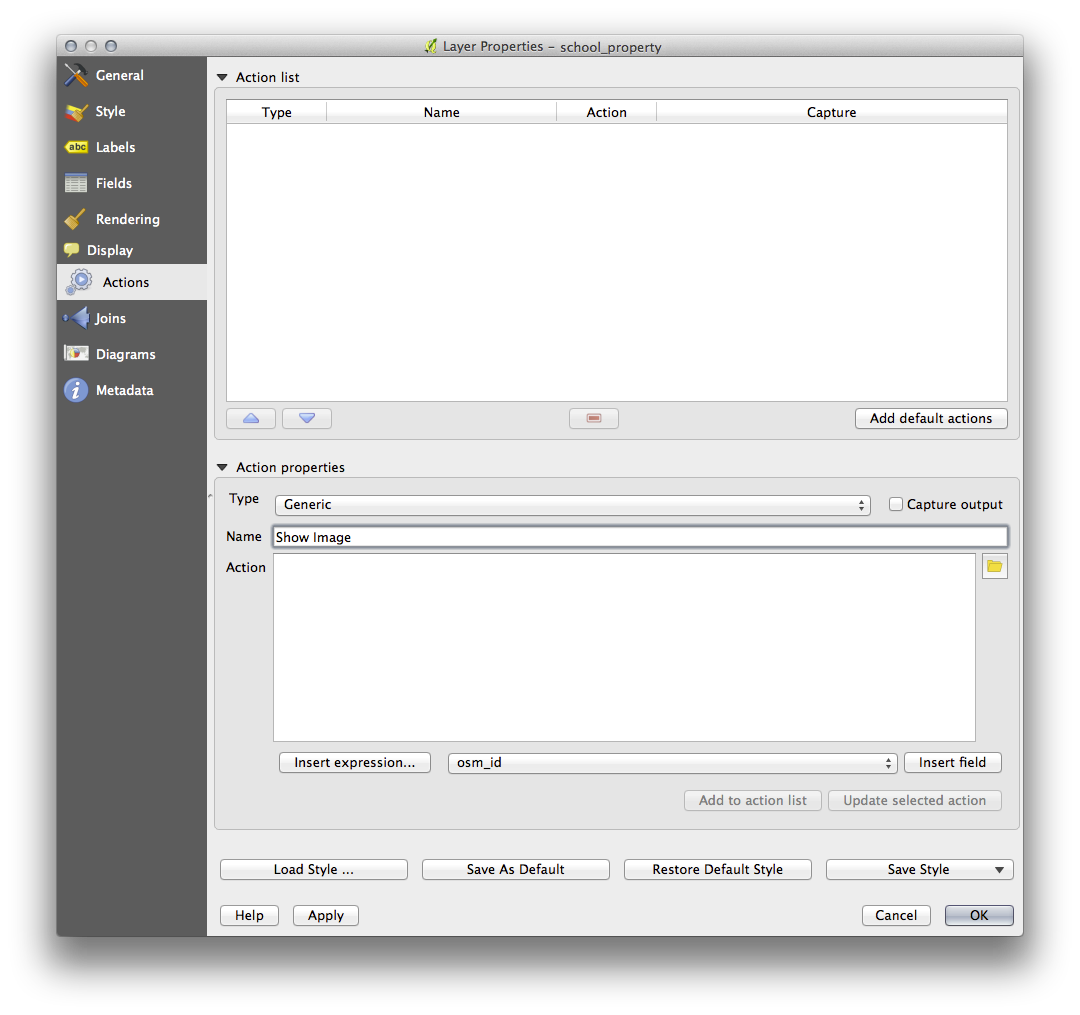
- Open the Actions form for the school_property layer.
- In the
Action propertiespanel, enter the wordsShow Imageinto the Name field:
What to do next varies according to your operating system, so choose the appropriate course to follow:
4.3.1. Windows
- Click on the Type dropdown and choose Open.
4.3.2. Ubuntu Linux
- Under Action, write
eogfor the Gnome Image Viewer, or writedisplayto use ImageMagick. Remember to put a space after the command!
4.3.3. MacOS
4.3.4. Continue writing the command
You want to open the image, and QGIS knows where the image is. All it needs to do is to tell the Action where the image is.
- Select image from the list:
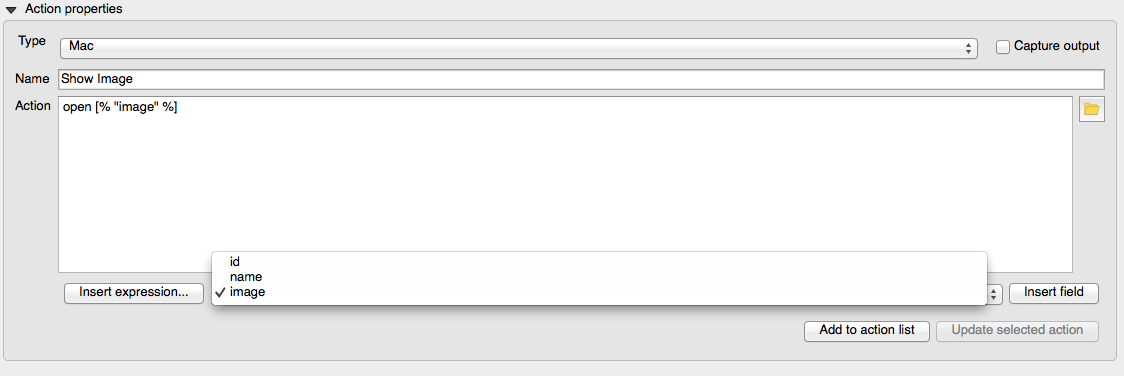
- Click the Insert field button. QGIS will add the phrase
[%
"image" %]
in the Action field. - Click the Add to action list button.
- Click OK on the Layer Properties dialog.
Now we will test the new Action:
Click on the school_property layer in the Layers list so that it is highlighted.
Find the Run feature action button (on the same toolbar as the Open Attribute Table button):

Click on the down arrow to the right of this button. There’s only one action defined for this layer so far, which is the one you just created.
Click the button itself to activate the tool.
Using this tool, click on any of the three school properties.
The image for that property will now open.
4.4.  Follow Along: Searching the Internet
Let’s say we’re looking at the map and want to know more about the area that a farm is in. Suppose you know nothing of the area in question and want to find general information about it. Your first impulse, considering that you’re using a computer right now, would probably be to Google the name of the area. So let’s tell QGIS to do that automatically for us!
- Open the attribute table for the landuse layer.
We’ll be using the name field for each of our landuse areas to search
Google.
- Close the attribute table.
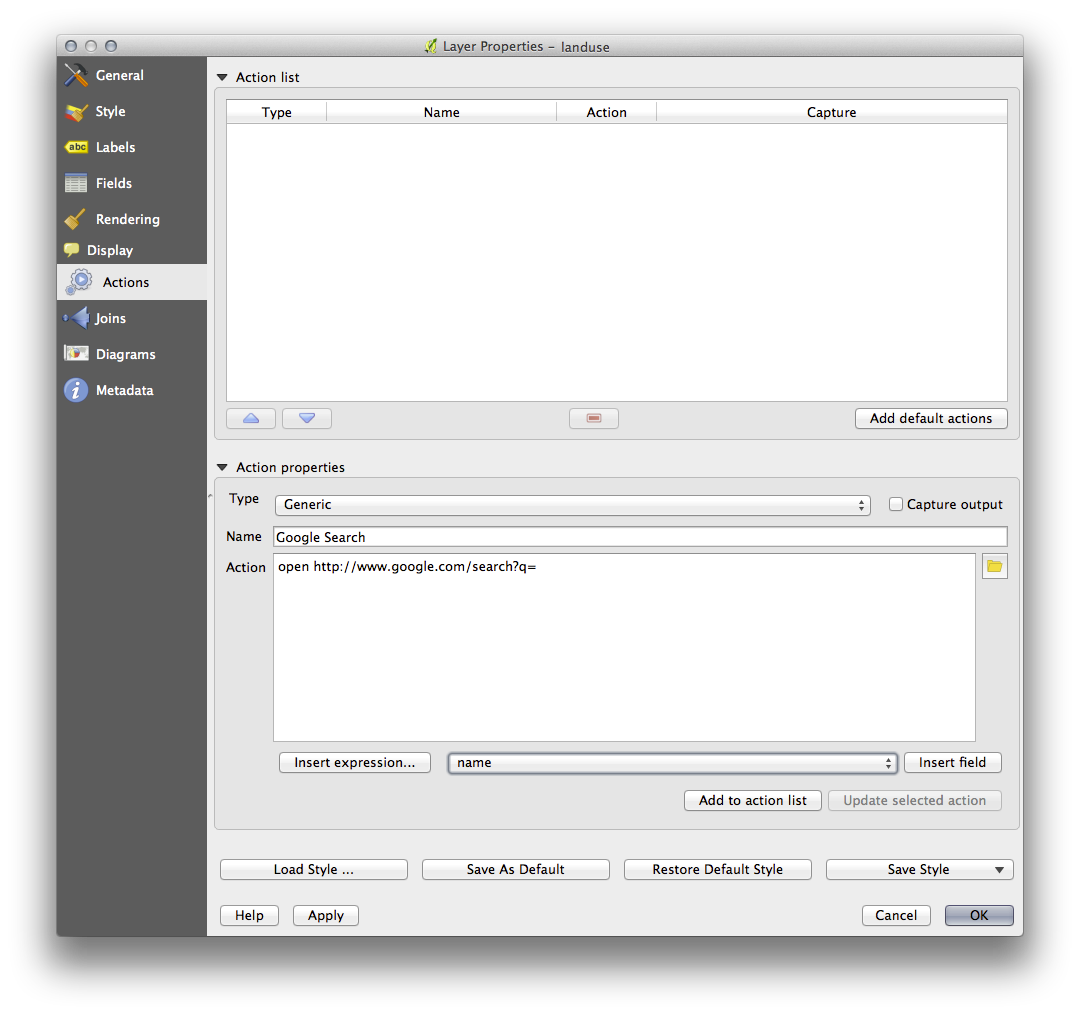
- Go back to Actions in Layer Properties.
- In the field Action Properties ‣ Name, write
Google
Search
.
What to do next varies according to your operating system, so choose the appropriate course to follow:
4.4.1. Windows
- Under Type, choose Open. This will tell Windows to open an Internet address in your default browser, such as Internet Explorer.
4.4.2. Ubuntu Linux
- Under Action, write
xdg-open. This will tell Ubuntu to open an Internet address in your default browser, such as Chrome or Firefox.
4.4.3. MacOS
- Under Action, write
open. This will tell MacOS to open an Internet address in your default browser, such as Safari.
4.4.4. Continue writing the command
Whichever command you used above, you need to tell it which Internet address to open next. You want it to visit Google, and to search for a phrase automatically.
Usually when you use Google, you enter your search phrase into the Google
Search bar. But in this case, you want your computer to do this for you. The
way you tell Google to search for something (if you don’t want to use its
search bar directly) is by giving your Internet browser the address
http://www.google.com/search?q=SEARCH_PHRASE, where
SEARCH_PHRASE is what you want to search for. Since we don’t know what
phrase to search for yet, we’ll just enter the first part (without the search
phrase).
- In the Action field, write
http://www.google.com/search?q=. Remember to add a space after your initial command before writing this in!
Now you want QGIS to tell the browser to tell Google to search for the value of
name for any feature that you could click on.
- Select the name field.
- Click Insert field:
This will tell QGIS to add the phrase next:
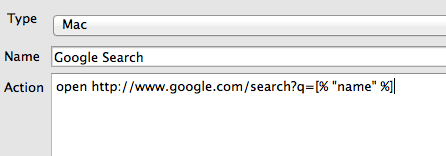
What this means is that QGIS is going to open the browser and send it to the
address http://www.google.com/search?q=[% "name" %]. But [%
"name" %] tells QGIS to use the contents of the name field as the
phrase to search for.
So if, for example, the landuse area you click on is named
Marloth Nature Reserve, then QGIS is going to send the browser to
http://www.google.com/search?q=Marloth%20Nature%20Reserve, which will
cause your browser to visit Google, which will in turn search for
“Marloth Nature Reserve”.
- If you haven’t done so already, set everything up as explained above.
- Click the Add to action list button. The new action will appear in the list above.
- Click OK on the Layer Properties dialog.
Now to test the new action.
- With the landuse layer active in the Layers list, click on the Run feature action button.
- Click on any landuse area you can see on the map. Your browser will now open, and
will automatically start a Google search for the town that is recorded as
that area’s
namevalue.
Note
If your action doesn’t work, check that everything was entered correctly; typos are common with this kind of work!
4.5.  Follow Along: Open a Webpage Directly in QGIS
Above, you’ve seen how to open a webpage in an external browser. There are some shortcomings with this approach in that it adds an unknowable dependency – will the end-user have the software required to execute the action on their system? As you’ve seen, they don’t necessarily even have the same kind of base command for the same kind of action, if you don’t know which OS they’ll be using. With some OS versions, the above commands to open the browser might not work at all. This could be an insurmountable problem.
However, QGIS sits on top of the incredibly powerful and versatile Qt4 library. Also, QGIS actions can be arbitrary, tokenized (i.e. using variable information based on the contents of a field attribute) Python commands!
Now you’ll see how to use a python action to show a web page. It’s the same general idea as opening a site in an external browser, but it requires no browser on the user’s system since it uses the Qt4 QWebView class (which is a webkit based html widget) to display the content in a pop up window.
Instead of Google, let’s use Wikipedia this time. So the URL you request will look like this:
http://wikipedia.org/wiki/SEARCH_PHRASE
To create the layer action:
Open the Layer Properties dialog and head over to the Actions tab.
Set up a new action using the following properties for the action: * Type:
Python* Name:Wikipedia* Action (all on one line):from PyQt4.QtCore import QUrl; from PyQt4.QtWebKit import QWebView; myWV = QWebView(None); myWV.load(QUrl('http://wikipedia.org/wiki/[% "name" %]')); myWV.show()
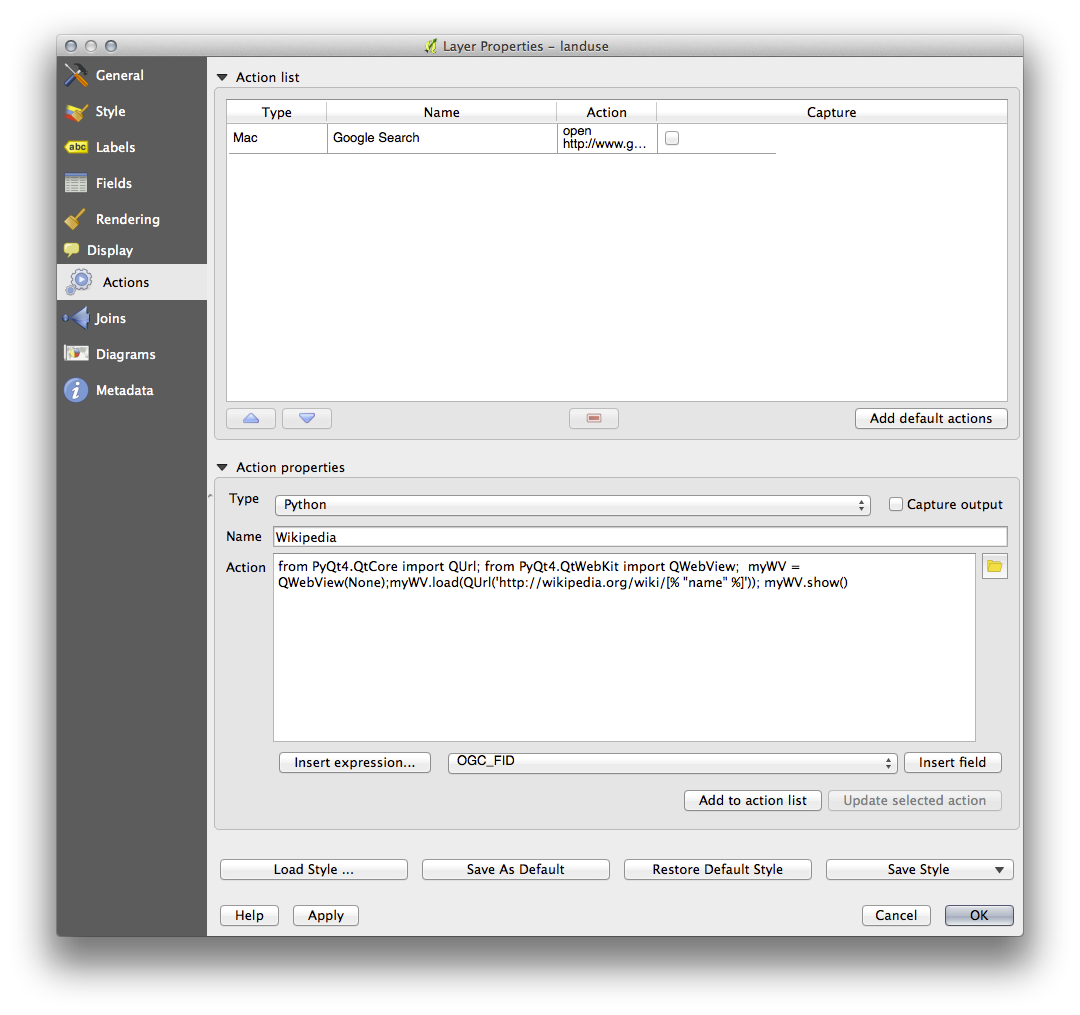
There are a couple of things going on here:
- All the python code is in a single line with semi-colons separating commands (instead of newlines, the usual way of separating Python commands).
[% "name" %]will be replaced by the actual attribute value when the action is invoked (as before).- The code simply creates a new
QWebViewinstance, sets its URL, and then callsshow()on it to make it visible as a window on the user’s desktop.
Note that this is a somewhat contrived example. Python works with semantically significant indentation, so separating things with semicolons isn’t the best way to write it. So, in the real world, you’d be more likely to import your logic from a Python module and then call a function with a field attribute as parameter.
You could equally use the approach to display an image without requiring that the user has a particular image viewer on their system.
- Try using the methods described above to load a Wikipedia page using the Wikipedia action you just created.
4.6. In Conclusion
Actions allow you to give your map extra functionality, useful to the end-user who views the same map in QGIS. Due to the fact that you can use shell commands for any operating system, as well as Python, the sky’s the limit in terms of the functions you could incorporate!
4.7. What’s Next?
Now that you’ve done all kinds of vector data creation, you’ll learn how to analyze this data to solve problems. That’s the topic of the next module.